Step 1 — Create a SAML Application in Your IdP
- In your IdP’s admin dashboard, create a new SAML 2.0 application/integration.
-
When prompted for SAML configuration details, enter the following:
Field Value Single sign-on URL (ACS URL) https://allium-firebase.firebaseapp.com/__/auth/handlerEntity ID (Audience URI) https://app.allium.soBe careful — do not include a trailing slash in the SSO URL or Entity ID. -
Complete your IdP’s setup flow.
If your IdP supports it, you can restrict access by assigning specific groups or users to the application.
Step 2 — Locate Your SAML Metadata
After the application is created, your IdP will provide the following values:| Field | Description |
|---|---|
| Identity Provider Single Sign-On URL | Also called Login URL or SAML Endpoint |
| Identity Provider Issuer | Sometimes called Entity ID |
| X.509 Certificate | Public certificate for SAML signing |
Step 3 — Configure SSO in Allium
- In Allium, go to Team Settings → SSO Setup.
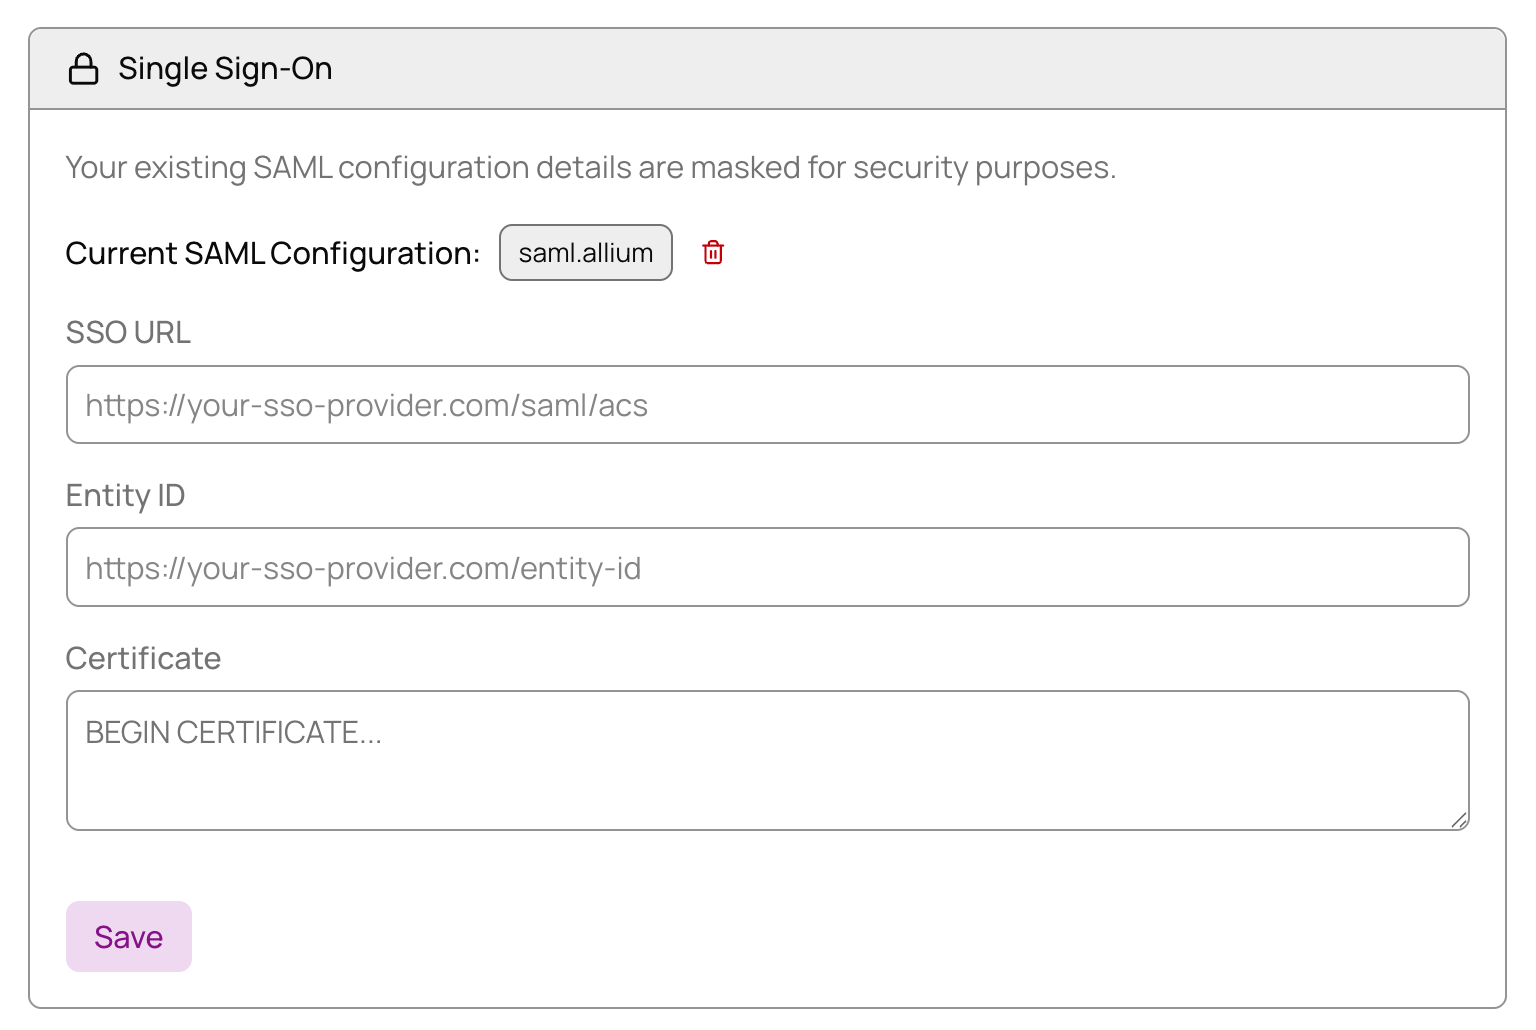
- Paste each of the three values from your IdP into the matching fields.
- Save your changes.
✅ Once configured, your organization can sign in to Allium using your IdP credentials.