Setup Process
1
Create a SAML Application in Your IdP
In your IdP’s admin dashboard, create a new SAML 2.0 application/integration.
2
Configure SAML Details
When prompted for SAML configuration details, enter the following values:
3
Complete IdP Setup
Complete your IdP’s setup flow to finalize the application configuration.
4
Locate Your SAML Metadata
After the application is created, your IdP will provide the following values (often available under SAML Setup Instructions, Metadata, or Configuration):
5
Navigate to Allium SSO Settings
In Allium, go to Team Settings → SSO Setup.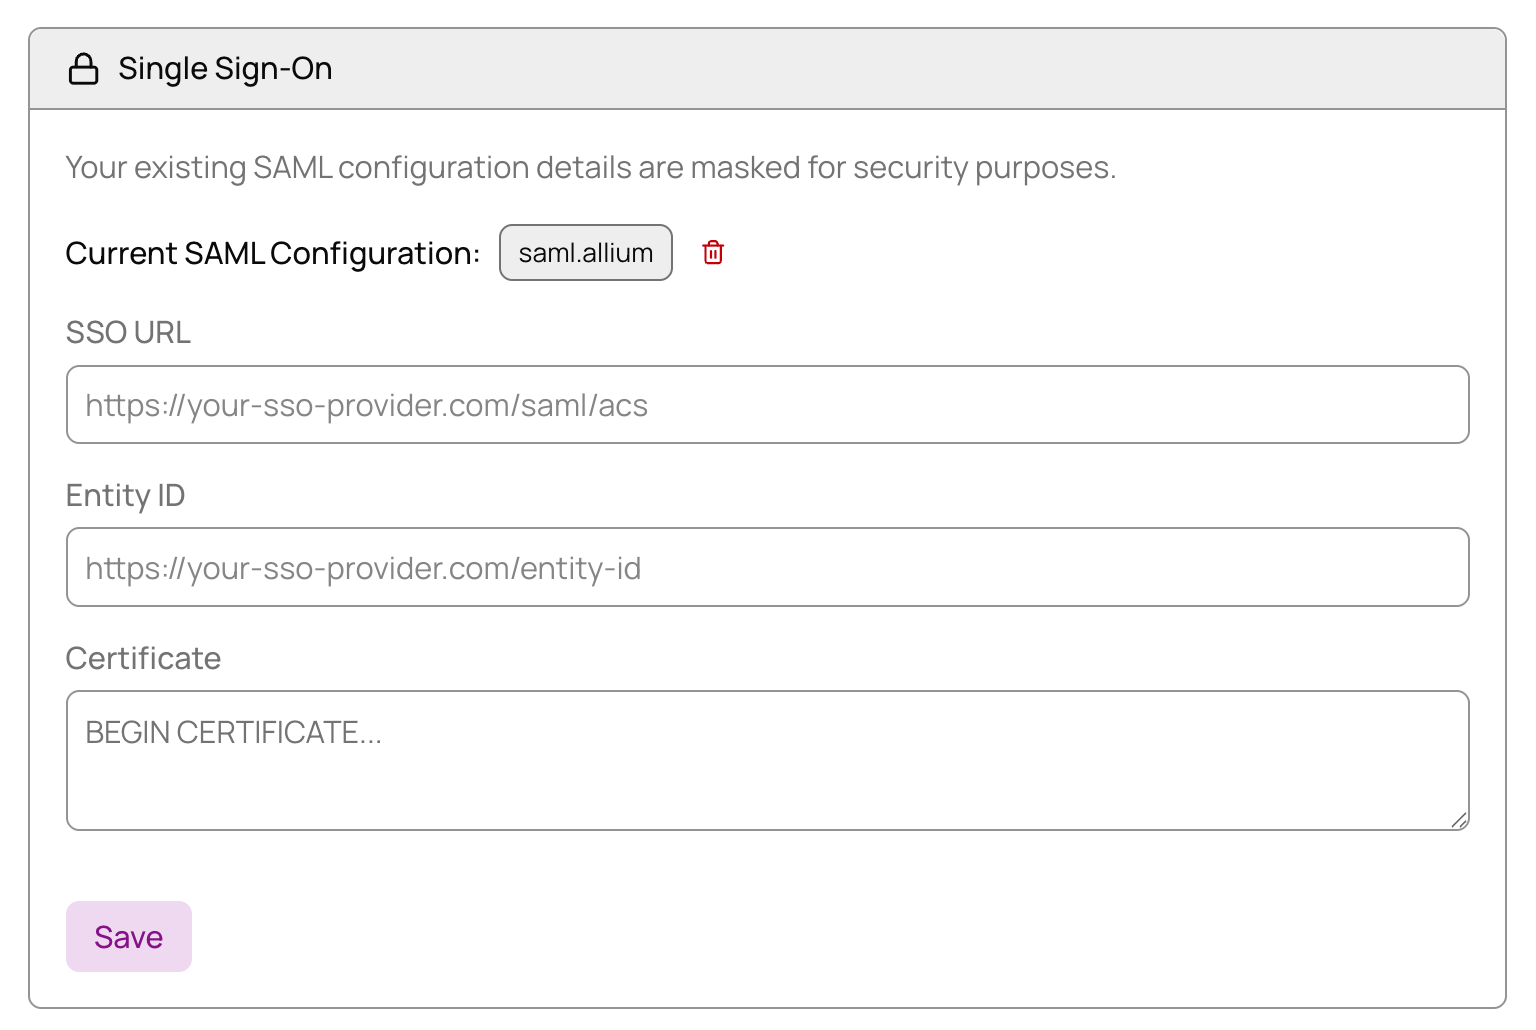
6
Enter SAML Configuration
Paste each of the three values from your IdP into the matching fields in Allium.
7
Save and Test
Save your changes to complete the SSO setup.
Success! Once configured, your organization members can sign in to Allium using your IdP credentials.